Note: Your Access Level may restrict the use of some features.
Inspections have been replaced by Checklists to make them easier to build and run.
We will continue to support the Inspections module until the move is complete.
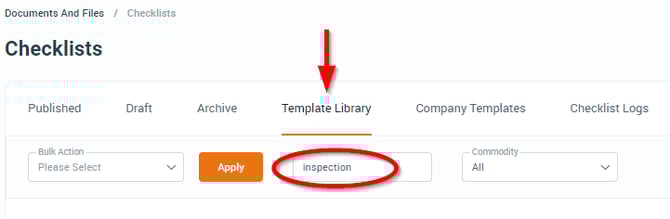
All Inspection templates are located in Checklists > Template Library.
Navigate to Documents > Checklists and click on the Template Library tab. Type Inspections in the Search keyword field to bring up the templates.
For more on Checklists, see Checklists Overview.
- From the left menu, select Documents > Inspections and select the Create or Edit tab.
- Click Edit on the required Inspection.
- To edit a statement, click within the text box.
- To add a statement, click Add new statement.
- To delete a statement, click the Bin icon.
- To move a statement, use the Up and Down arrow icons.
- Once all changes are made, click Save.