Note: Your Access Level may restrict the use of some features.
The 10 Step Implementation Guide needs to be done on Desktop.
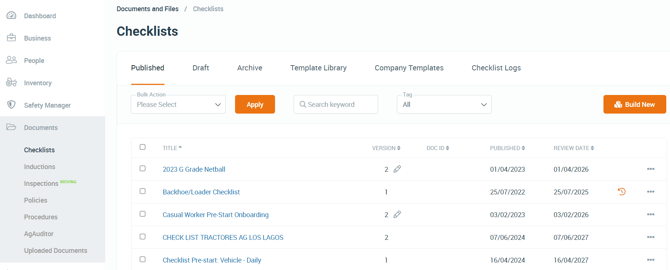
- Navigate to Documents > Checklists, in the left menu.
- Checklists can be created from a Safe Ag Systems template, or by creating your own.
- To use a template: Navigate to the Template Library tab. On the template, click More options ••• and select Use Template and Customise – this will save the Checklist to the Drafts tab.
- To create your own: Clicking Build New, and add a title, and click Next. Drag and drop elements to build the Checklist. For more information, see Creating a New Checklist.
- Click the pencil to edit parts of the Checklist as needed. See Checklist Elements for details on the elements available.
- Click Preview to review the Checklist before publishing.
- Use the phone, tablet or desktop icons
 to see how it'll appear on different screen sizes.
- Use the phone, tablet or desktop icons
- Click Publish and complete the required fields.
- Set access to the Checklist logs by selecting Access Levels under Completer and who else can view Checklist Logs? This will allow users with those Access Levels to see completed Checklist logs, even if they didn't complete it.
The following article provides step by step instructions on how to build Checklists.
Tips
- As you add Inventory items, create Checklists that relate to them. Start by focusing on Checklists for your Inventory items or tasks with the greatest risk of causing injury.