Note: Your Access Level may restrict the use of some features.
This function is not available on a Standard subscription.
To attach a Procedure, see Attaching Procedures to Inventory.
- Inventory - Attach one or more Checklists to a single Inventory item, or
- Documents - Attach one or more Checklists to multiple Inventory items.
Attach from the Inventory Item
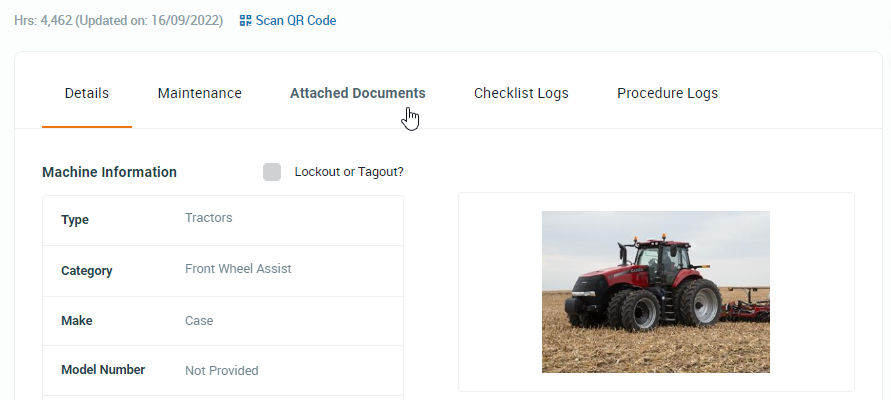
- From the left menu, select Inventory > Machinery and Equipment or Structures or Tools or Chemicals.
- Select the applicable inventory item to open.
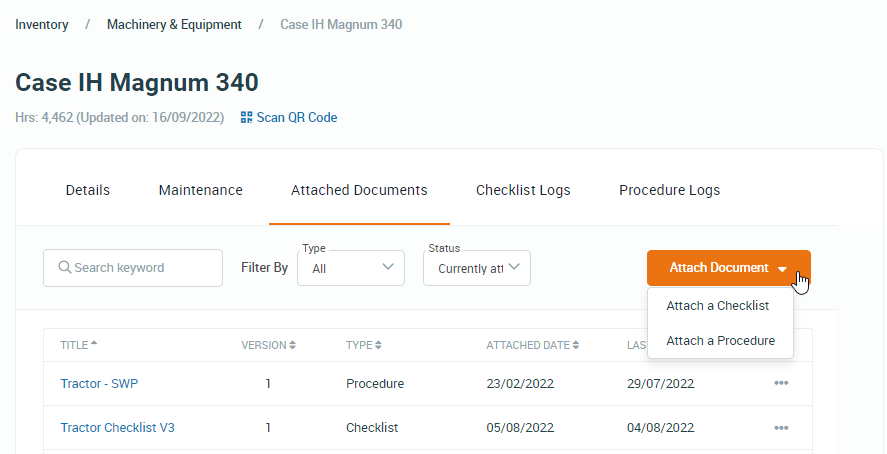
- Navigate to the Attached Documents tab at the top of the machine view.
- Click Attach Document and select Attach a Checklist from the dropdown list.
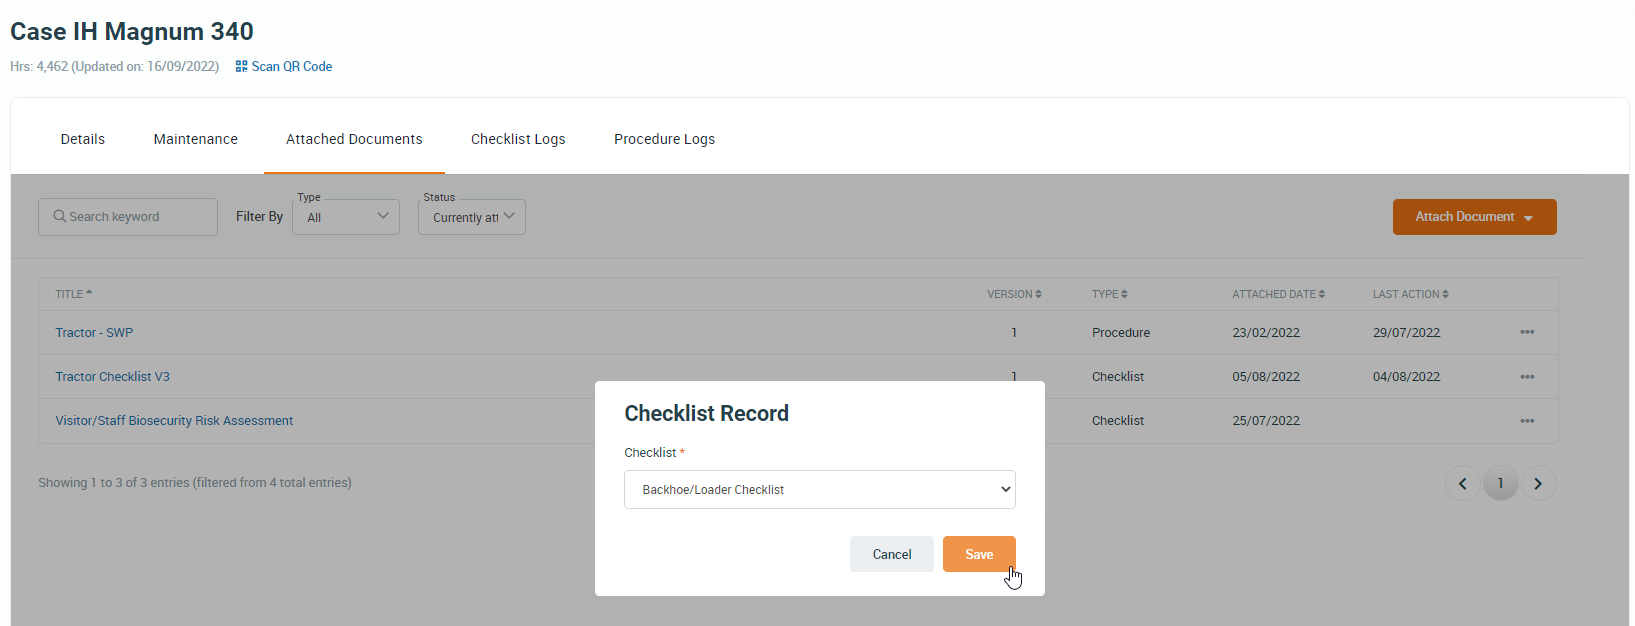
- Select the Checklist to attach and click Save.
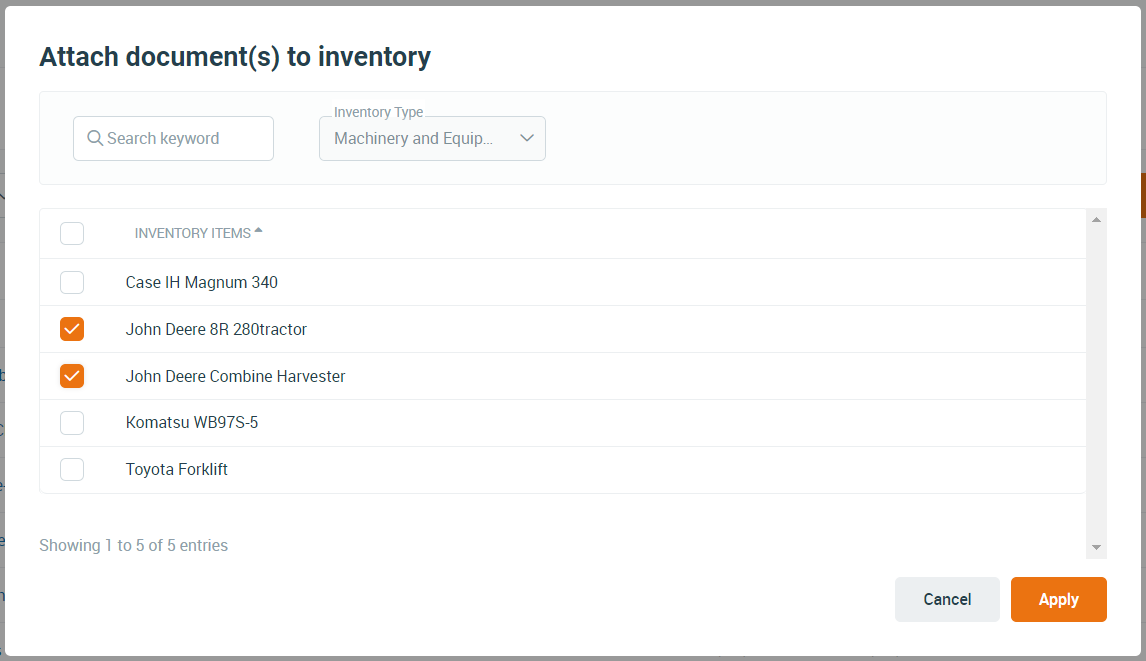
Attach from Documents
- From the left menu, select Documents > Checklists.
- Tick the Checklists needed.
- From the Bulk Action dropdown at the top select Attach to Inventory > Apply.

- Tick the Inventory items needed and click Apply.