Note: Your Access Level may restrict the use of some features.
Building an Induction can only be done on Desktop.
Inductions are a group of statements that are assigned to staff and visitors to complete. Every statement should be easy to understand, and explain a farm rule or expectation. A statement needs to be marked as 'Agree' or 'Disagree' by the Inductee.
Inductee - Person completing the Induction.
Inductor - Person signing off the Induction.
- Creating an Induction
- Creating an Induction from a Template
- Formatting Options (including Linking a Policy)
Creating an Induction
- From the left menu, select Documents > Inductions. Click Create My Own.
- Enter the Induction's Name. Click Save.
- Add a Category and Statement.
- Category - groups similar statements together on the App and helps the Inductee know what the statement is about.
- Example - Work Health and Safety.
- Statement - the rule or expectation the Inductee agrees to. It should start with "I ..."
- Example - I know who my manager is and that if I have any questions about work health and safety, I can speak to that person. If that person is not available, I know who I can contact as an alternative.

- Category - groups similar statements together on the App and helps the Inductee know what the statement is about.
- Click + Add new statement.
- When all required statements have been created, click Save.
Creating an Induction using a Template
- From the left menu, select Documents > Induction Builder > Copy From Template.
- If the template is from a Management Portal, select Documents > Induction Builder > Company Templates. This won't be visible for all clients.
- Click View to review the content.
- To use a template, click the grey box. Multiple Inductions can be selected.
- Click Copy Template.
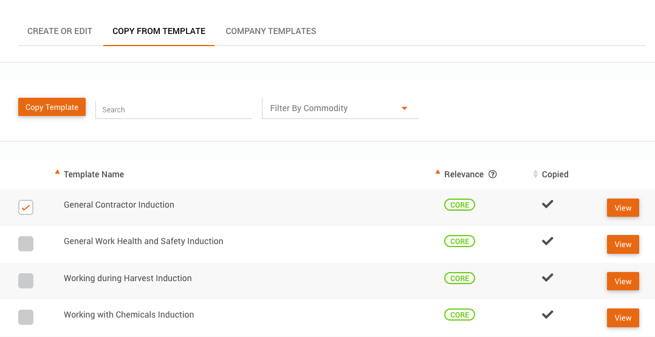
- If needed, rename the Induction and click Save. The template is now located in Create or Edit.
Note: A Template's relevance is based on the Commodities listed in Business Details.
Formatting Options
Formatting options are actioned per statement. Once a Link, Policy or Image is added, the icon will appear blue.
Note: A statement can't be completed by the Inductee without them opening the Link, Policy or Image.
- The Policy must be read and accepted.
- Links and Images are not available in areas with no connection.
Add a Link
- Click Add Link. Paste the URL, add a description and Save.

Add a Policy
- Click Add Policy > Select a Policy, and Save.
Only published Policies will be available.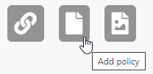
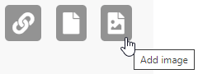
Add an Image
- Click Add Image. Click Choose File and upload the image, then Save.
Deleting a Statement
- Click the Trash Can, then OK to confirm.
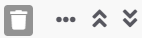
Moving a Statement
- Click Drag and Drop
 button or use the up/down arrows.