Note: Your Access Level may restrict the use of some features.
This can only be done on Desktop.
A Location can be edited by:
Editing a Location Name, Town, Postcode or Tile image
- From the left menu, select Business > Locations
- On the Location, click more options
 and select View/Edit.
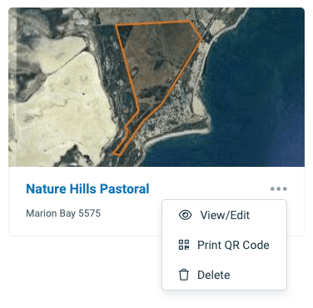
- Click more options
 next to the Location name in the top right corner, select Edit Location.
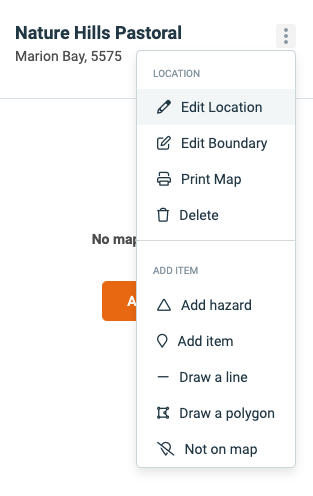
- Update fields and click Save.
Editing a Boundary
- From the left hand menu, select Business > Locations and click on the Location name.
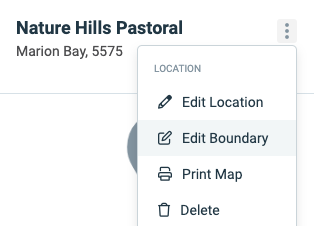
- Click more optionsnext to the location name and select Edit Boundary.
- Click on a marker and drag to move it.
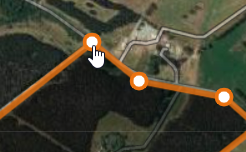
- When complete, click Save.
- To redraw the boundary, click Clear.
- For more information on re-drawing a boundary, see Adding a Location.